Whatsapp WebLast updated: 2023-05-07
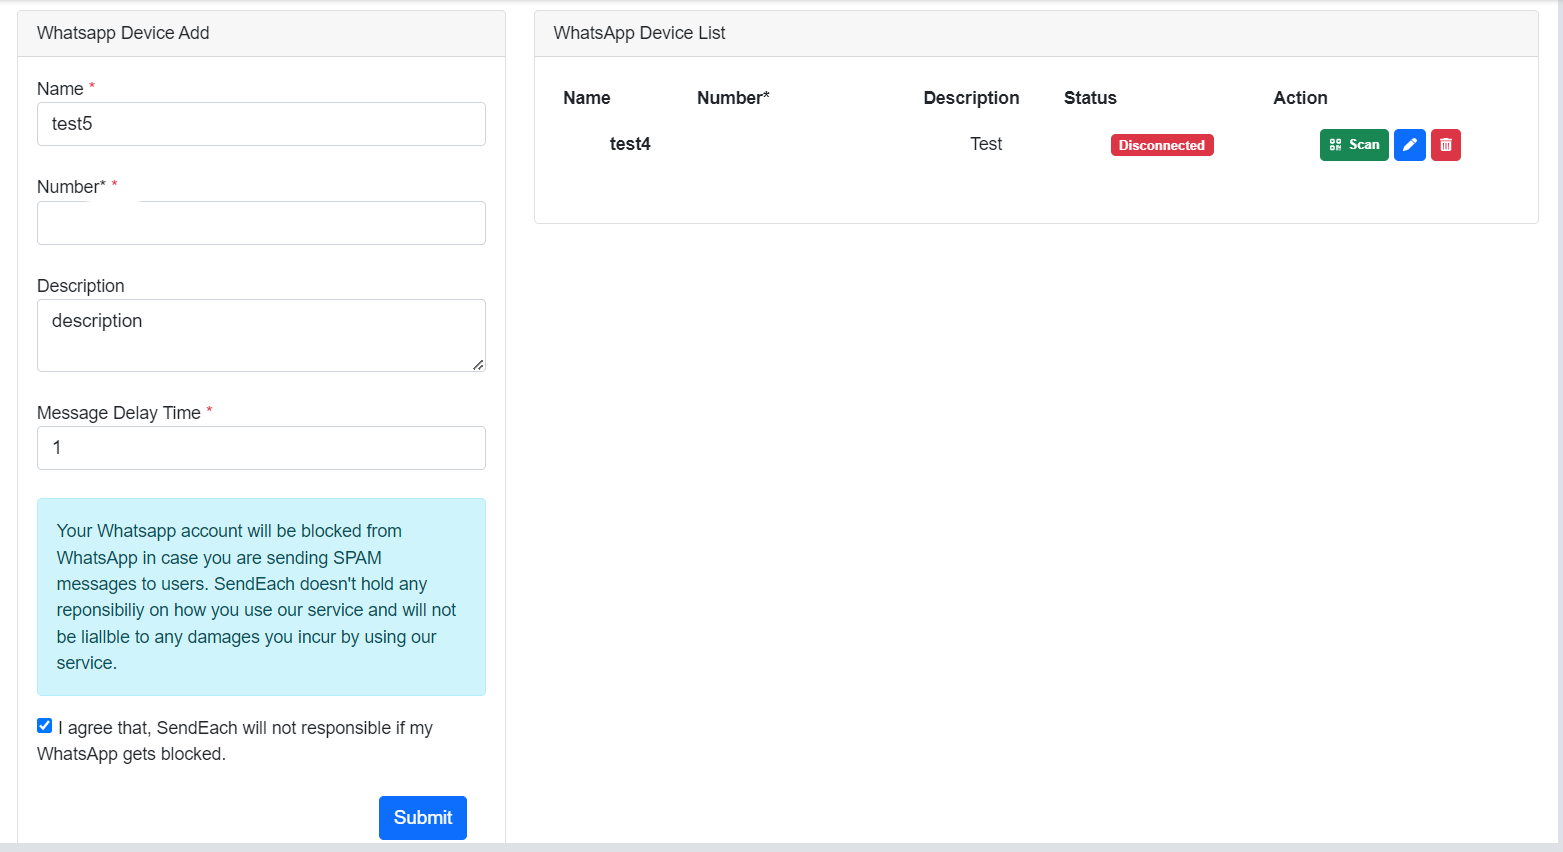
Add Whatsapp Device

2. Scroll Down to whatsapp Device Add Section.
Fil the fields of your choice and fill your whatsapp number.
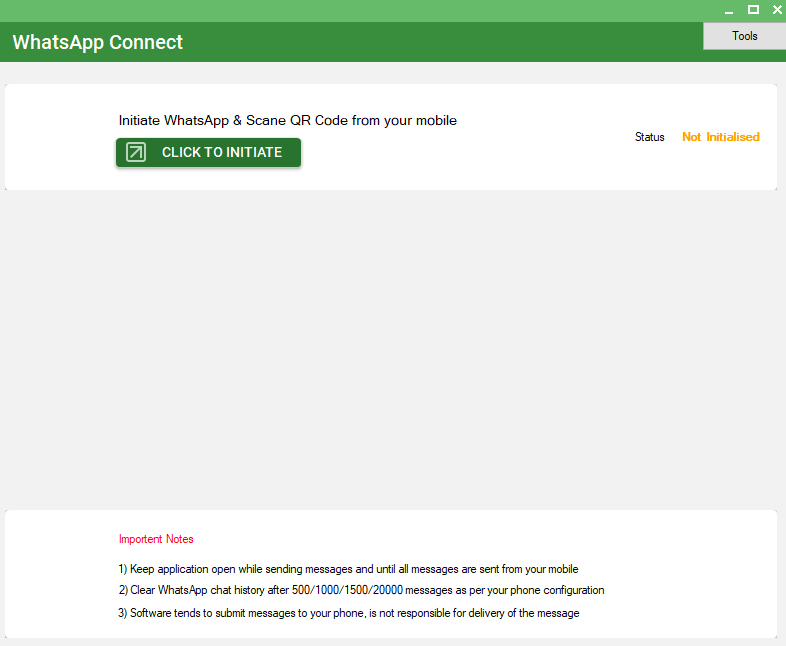
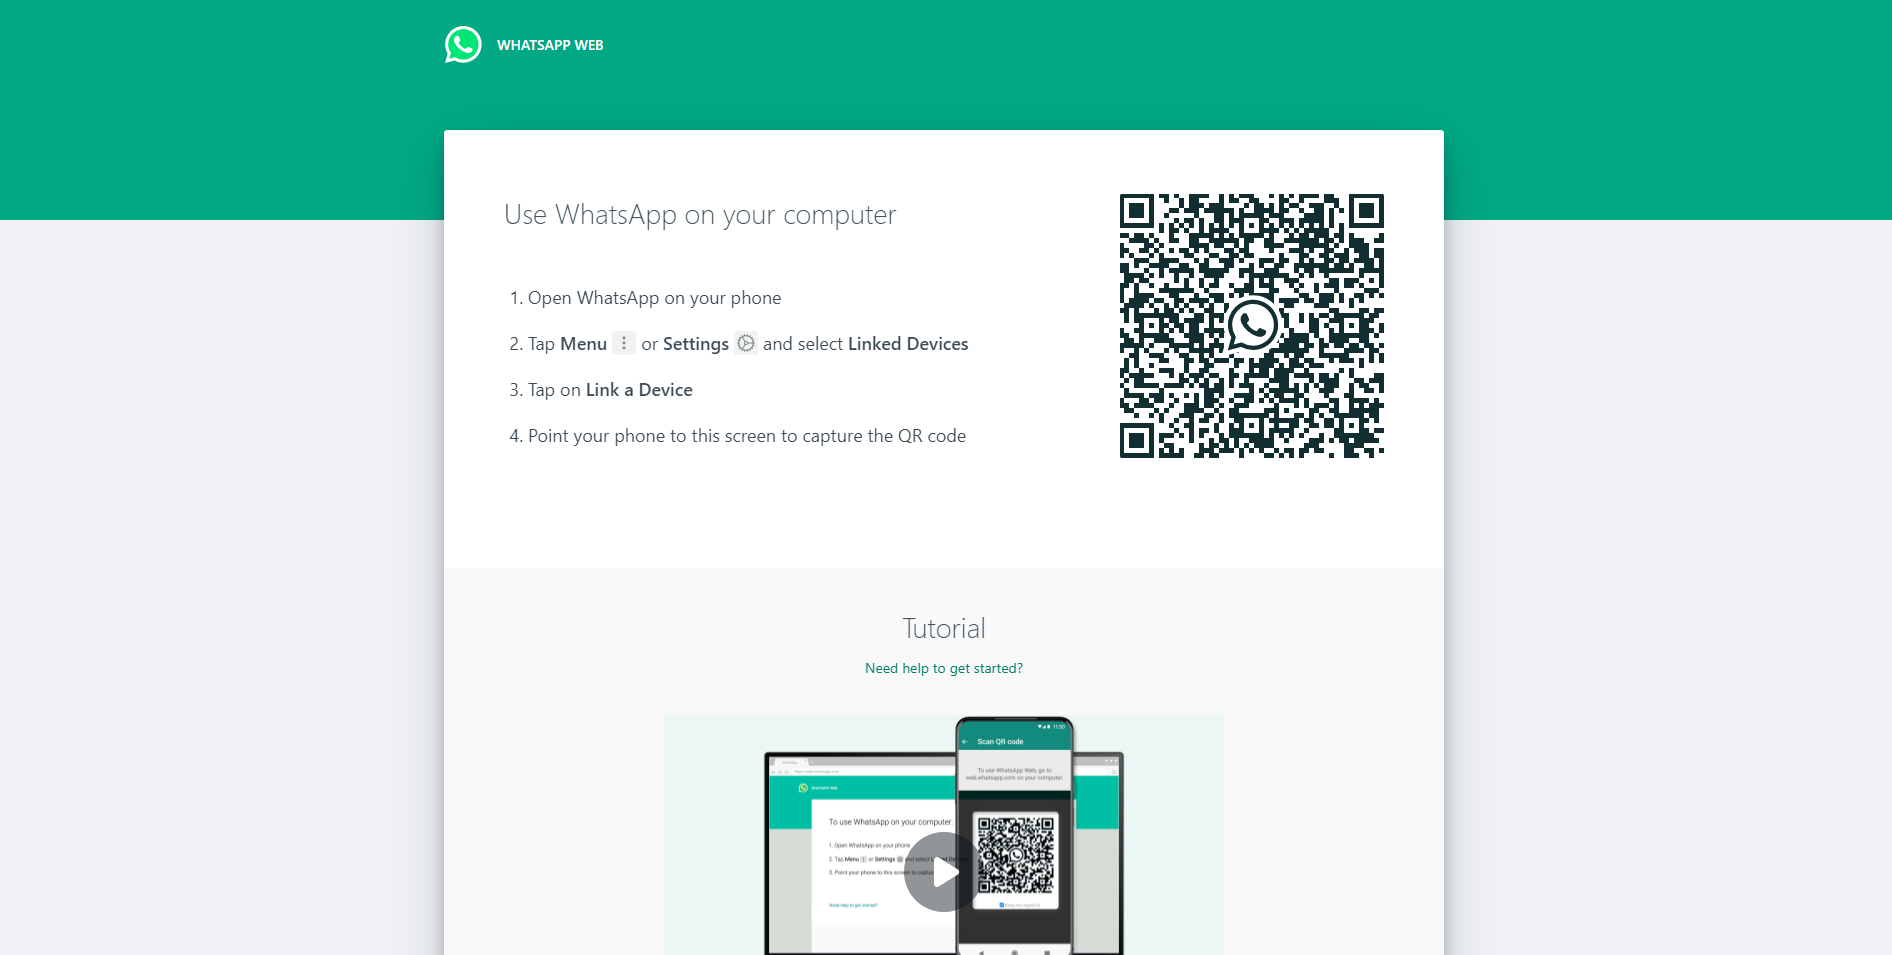
Click Scan or Scan will be initiated automatically. Please refer below image.
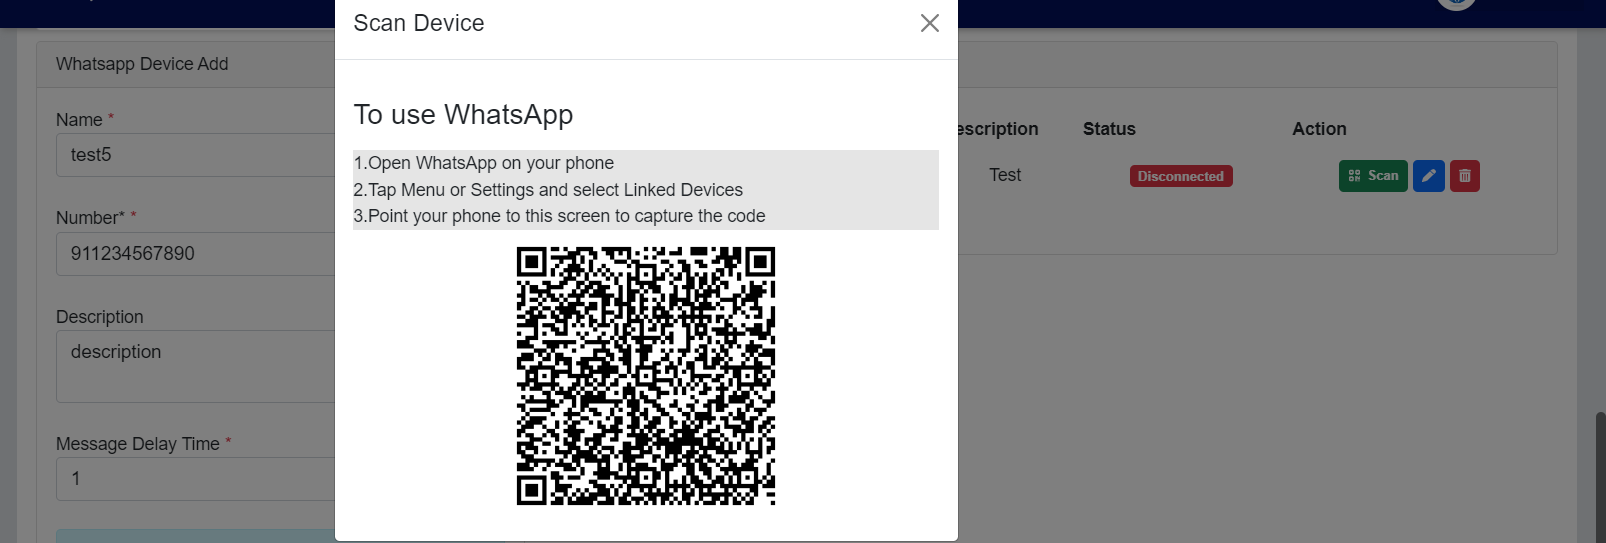
After Successful scan you can start using your Whatsapp device to send Bulk Whatsapp Messages.
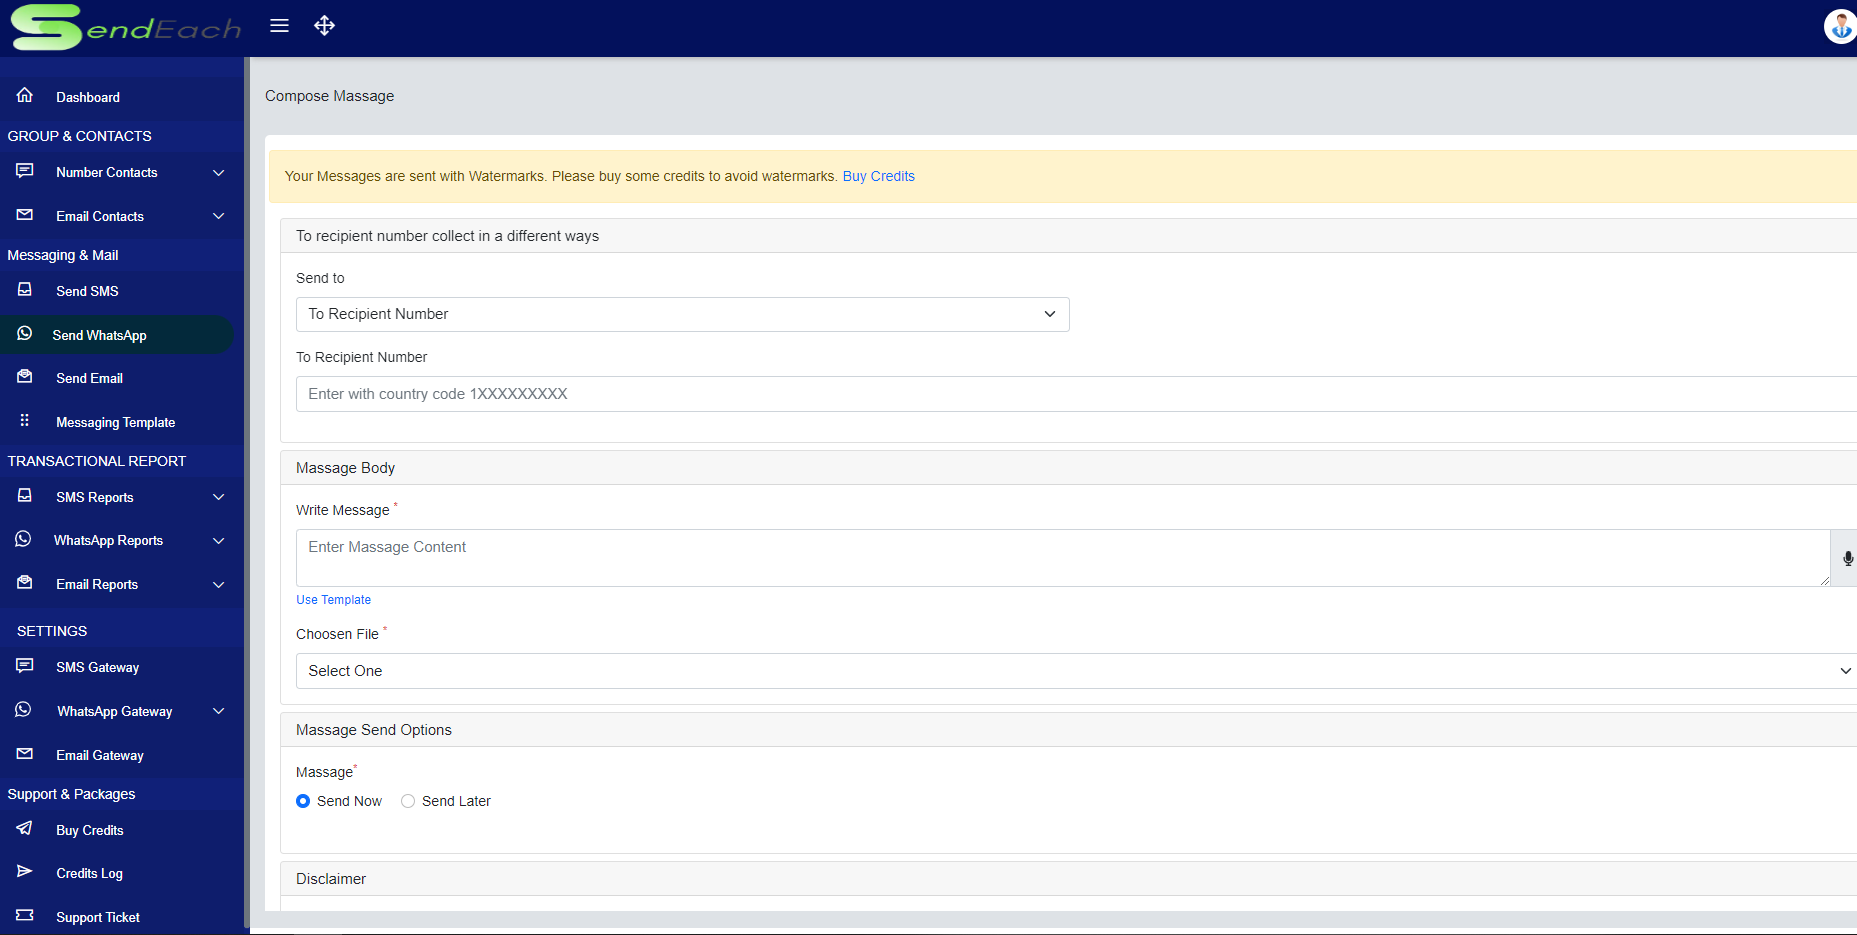
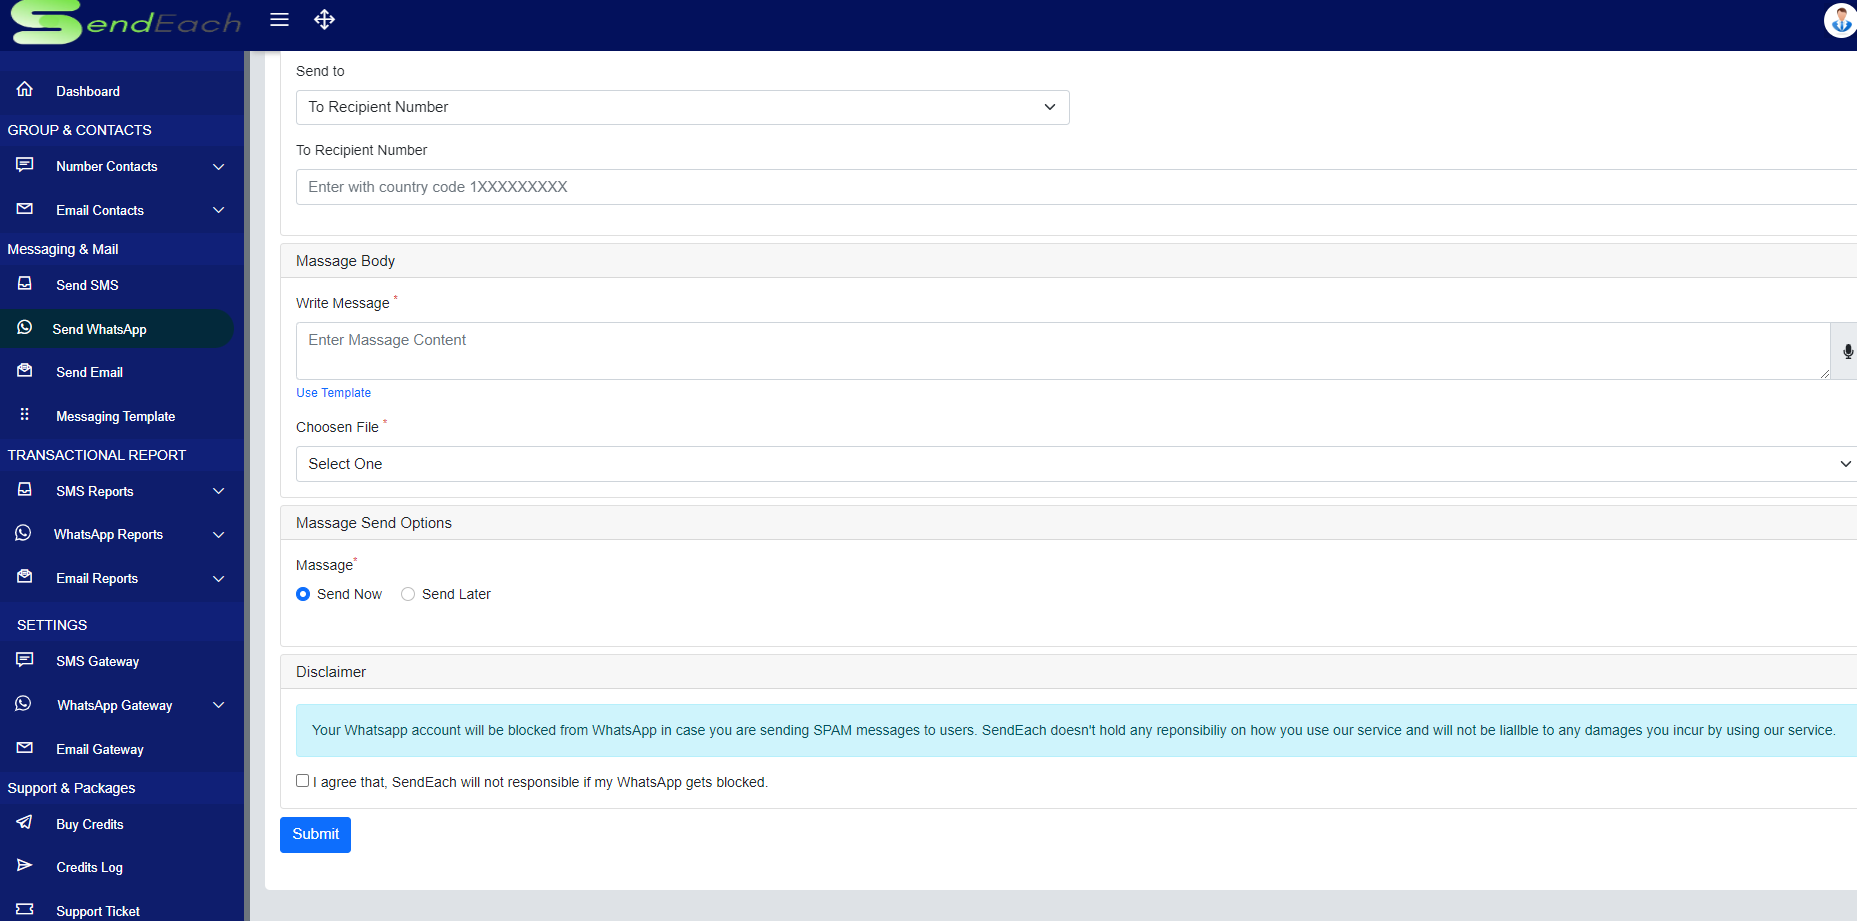
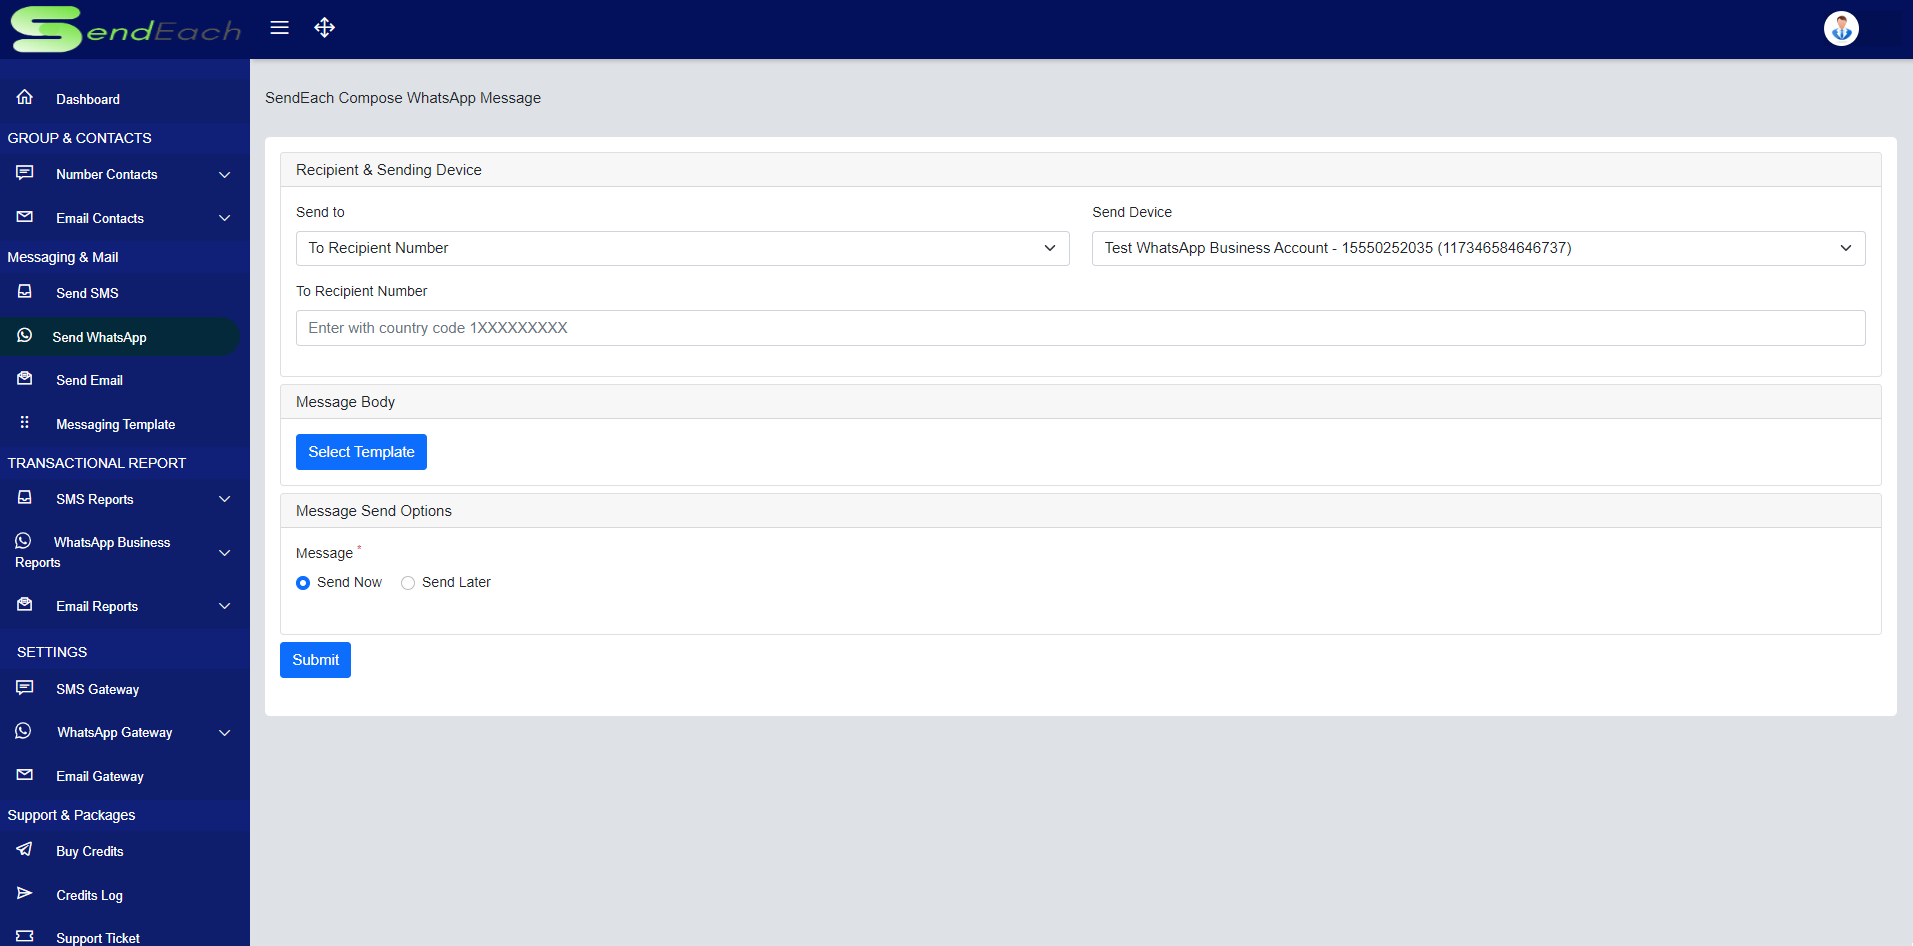
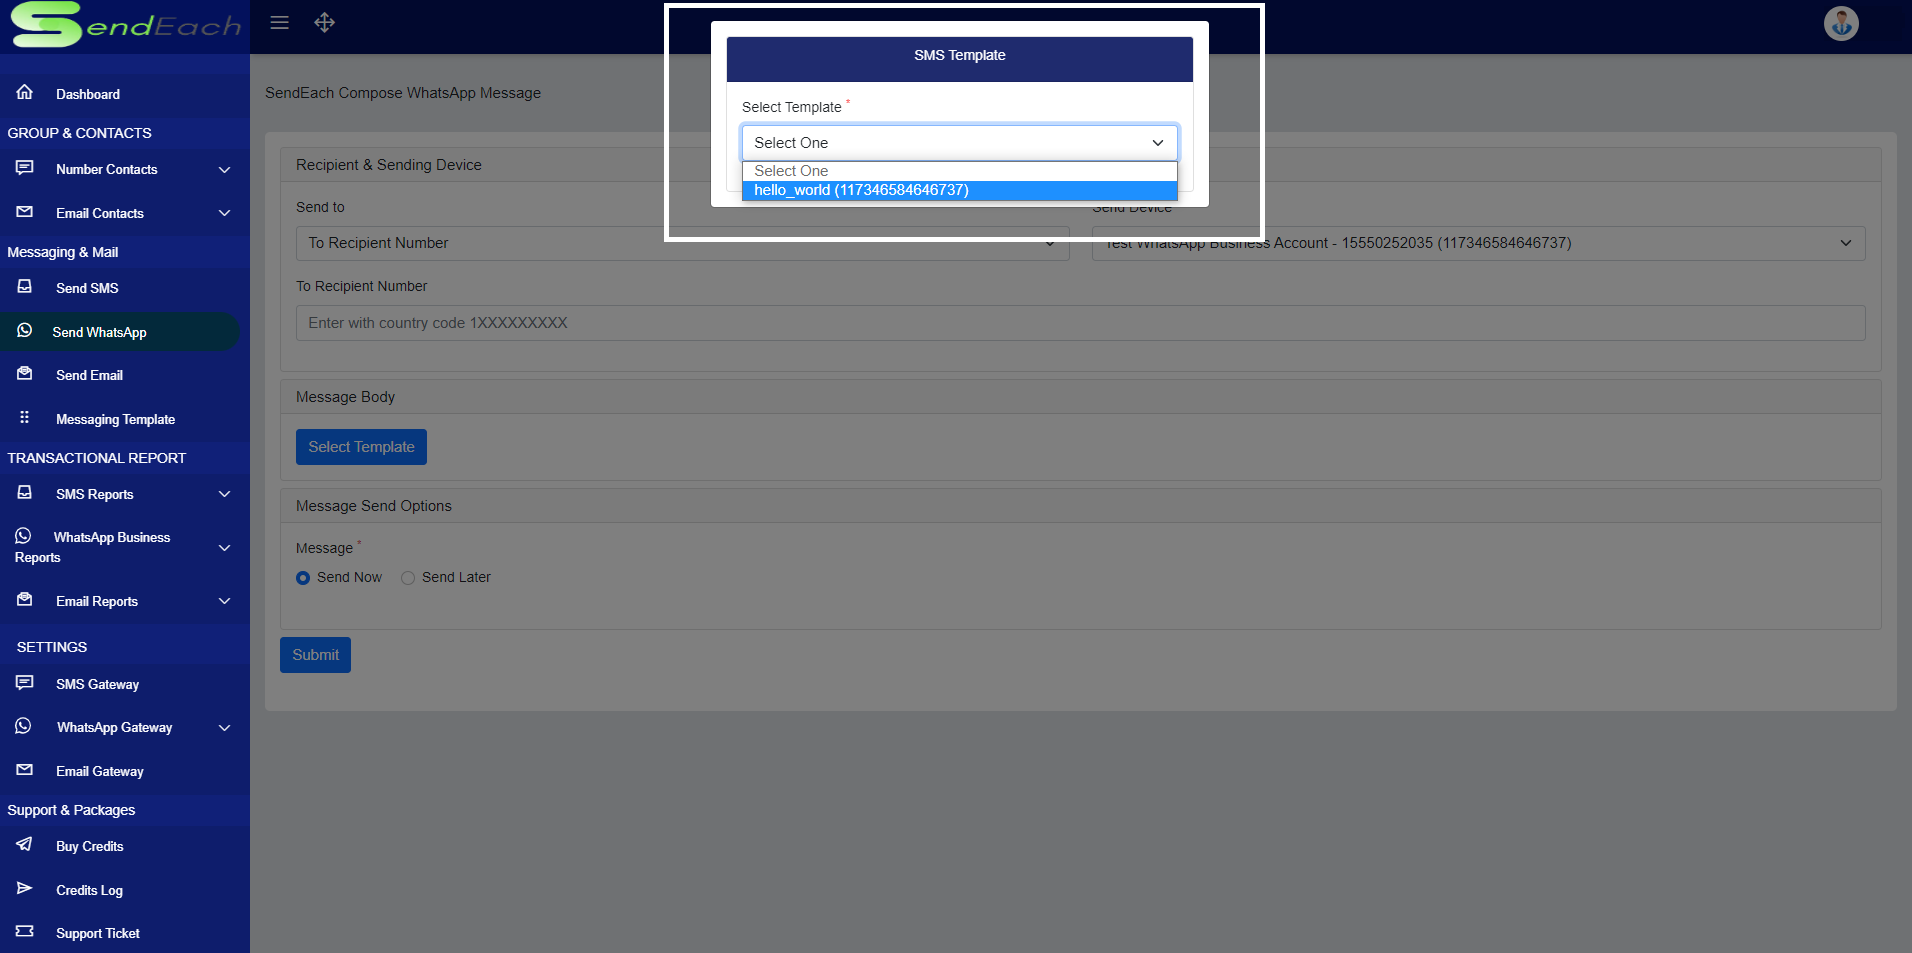
Send Whatsapp
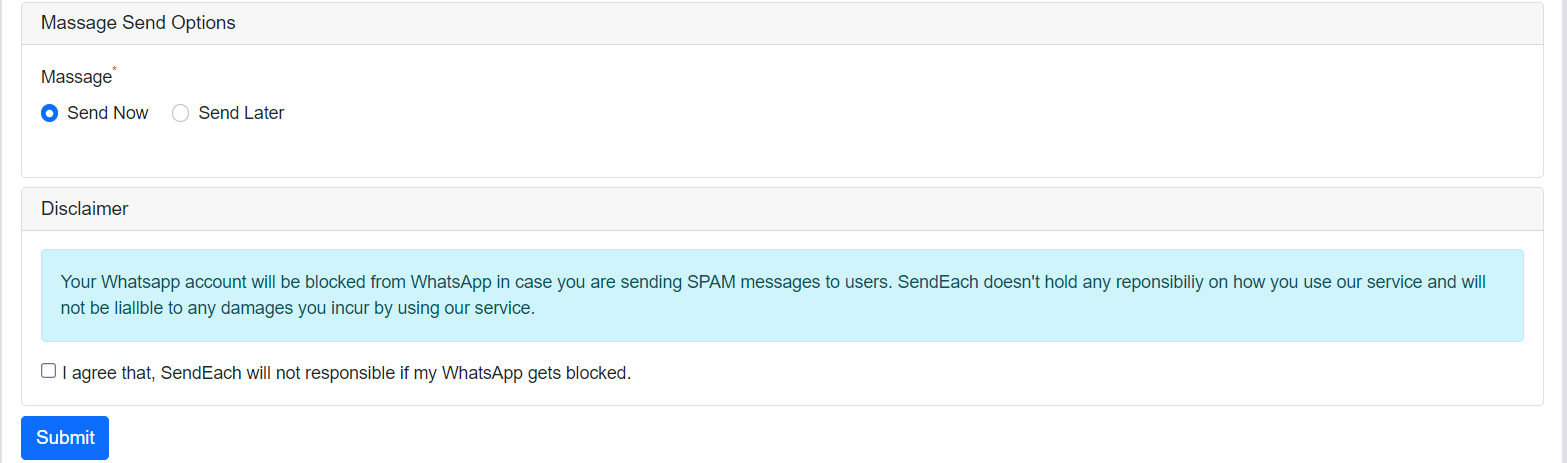
1. Navigate to Send Whatsapp.
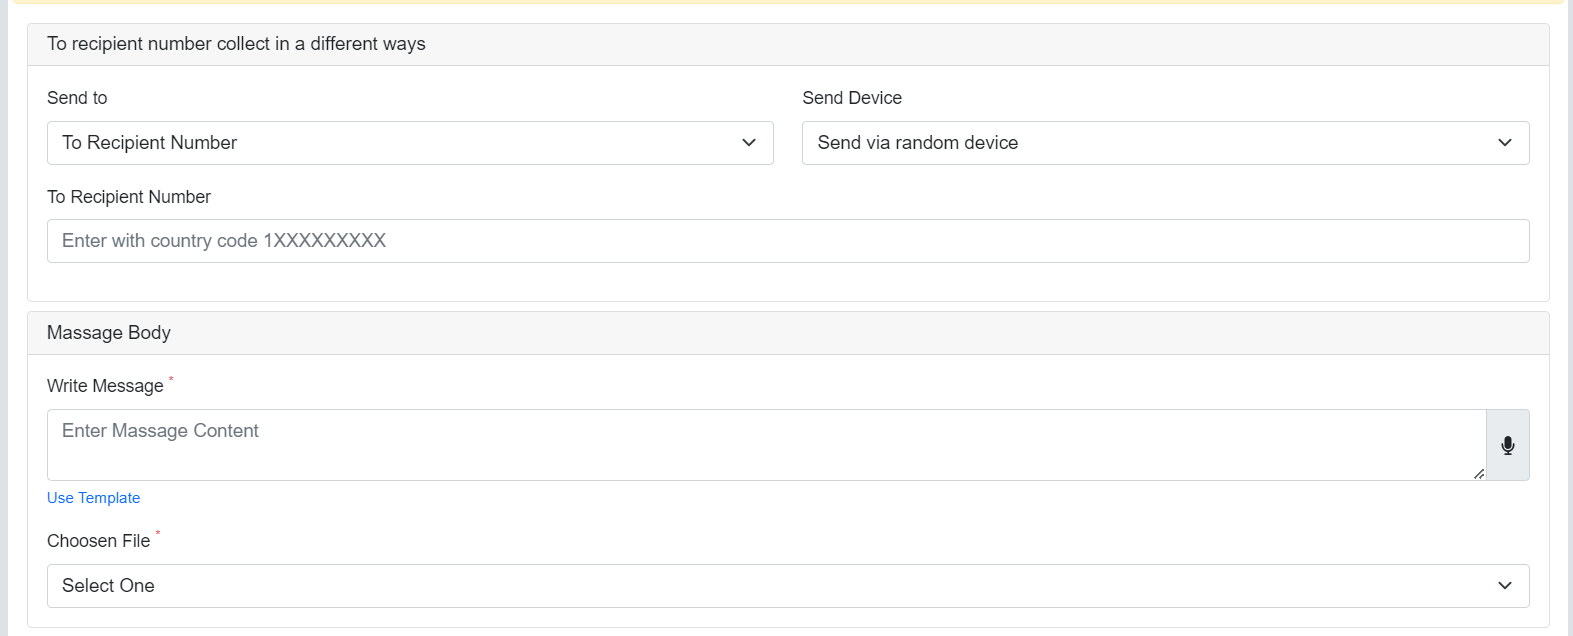
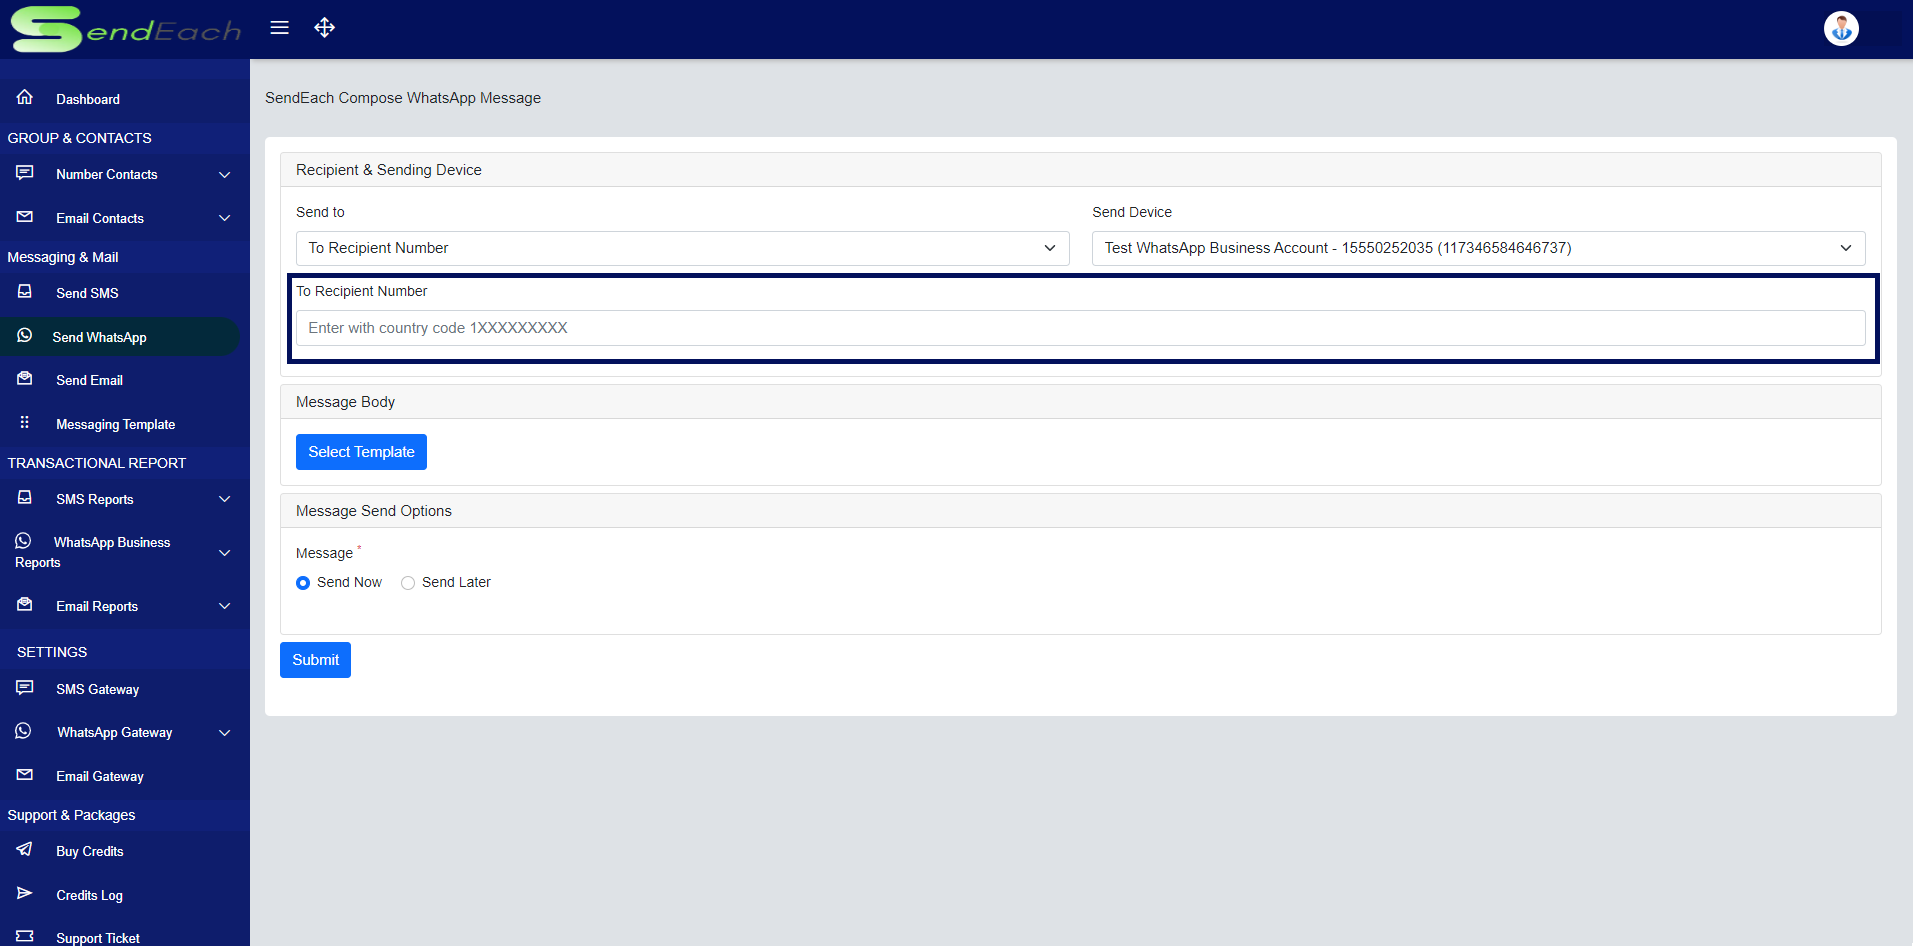
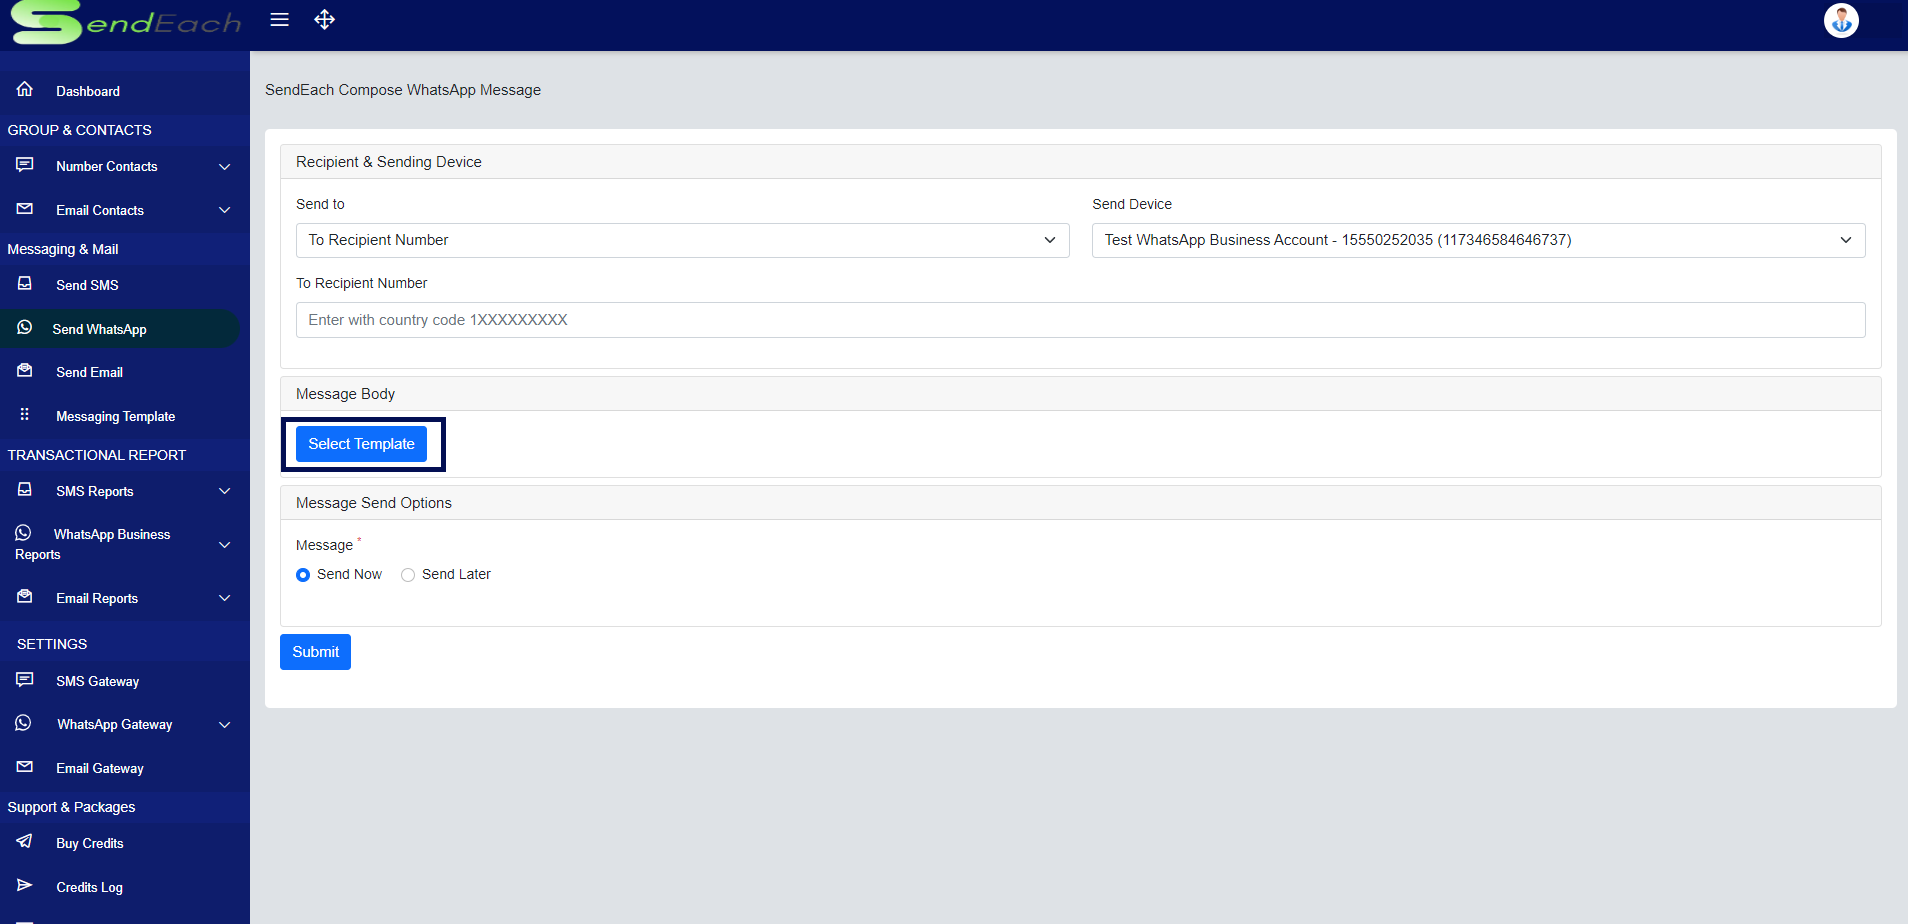
Provide Recipients and Select Whatsapp Send Device.
You Can also schedule the whatsapp message to send later.
After message submitting. You can track your whatsapp Message Logs from whatsapp reports .